 English
 Deutsch
 Français
 Italiano
 日本語
日本語 Español
 Português
 Russian
 Chinese (Simp.)
 チェコ語
チェコ語 Polish (Store only)
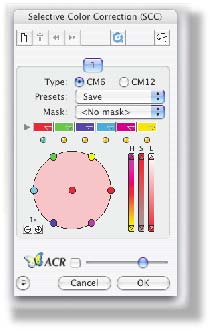
SilverFast has a tool that allows you to correct - or change - a specific color in an image. This Selective Colour Correction tool is available in all versions of SilverFast, just as the Global Color Correction tool.
SilverFast has another colour correction tool that's great for photographs, the Selective Colour Correction tool. This tool was developed for high-end scanners, but it works splendidly well with an Epson Perfection 8740 or V700 as well. It enables you to change a colour within a colour. This means you can actually decontaminate colours.

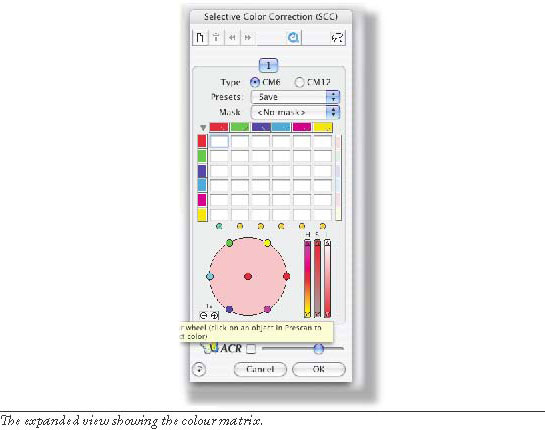
Changing colours in an image using a matrix of colour values
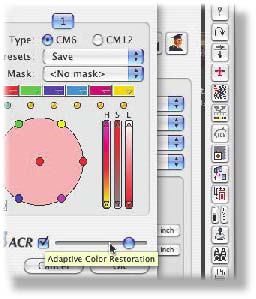
When you opened the Selective Colour Correction tool, you will have noticed an eyedropper became available. That is to allow you to select the contaminated colour area in the photograph more easily, because it can prove to be difficult to recognize blue from cyan and red from magenta.
The eyedropper tool helps with the selection. Although I won't go into detail, the Selective Colour Correction tool works by adding and subtracting colours into others. When I opened the dialogue window to correct the test photograph, I clicked on the puppet with the eydropper. The Selective Colour Correction tool selected red as the primary colour which I could now add or subtract other colours to and from.
The latter is only possible when processing colours using the colour wheel. In the centre of the wheel is your primary colour. You can add to the colour by dragging from the centre to one of the colour dots in the edge. If I wanted to add red to the red of the puppet, I would drag from the centre to the red dot.
Clicking or entering numbers
Much like the Global Correction dialogue, here as well you can select different colours to be processed at once, by shift-clicking the yellow dots below the matrix. Dots that are green, are active. Why didn't I use this tool on the test image? Well, experimenting with the tool revealed that I would get acceptable results only when masking large areas from the photograph.
This is fine by itself, of course, but when you need to mask, my personal preference goes to doing it in Photoshop, simply because the interface is less crowded there. In the test image, too many areas contain large quantities of red -exactly the colour I'm trying to boost- not to mess up the photograph rather than further correcting it. For example, the flesh tones all contain a considerable amount of red.
Boosting the reds makes the people look more like Indians on the war path than Caucasians. Nevertheless, this tool can be quite powerful, even when you want to replace a colour by some other colour. For now, we'll leave SilverFast to scan the image as we corrected it earlier.
After scanning your photograph, and finding it couldn't be corrected in SilverFast after all, you can start using Photoshop. You could also just favour Photoshop for colour correcting photographs.
(Source: IT-Enquirer)