 English
 Deutsch
 Français
 Italiano
 日本語
日本語 Español
 Português
 Russian
 Chinese (Simp.)
 Tcheco
 Polish (Store only)
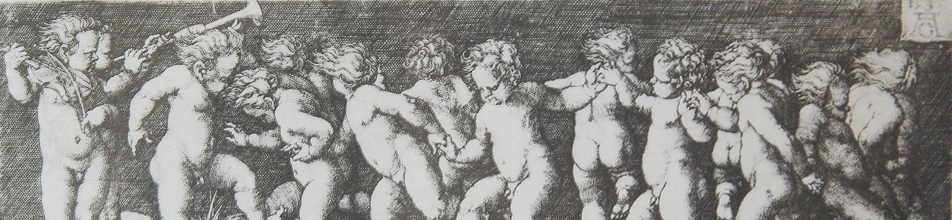
Introduction | The Precious Printing Process | Workflow Description | Example Images | Contacts, Links & Sources
|
Heliogravüre - The Precious Printing Process
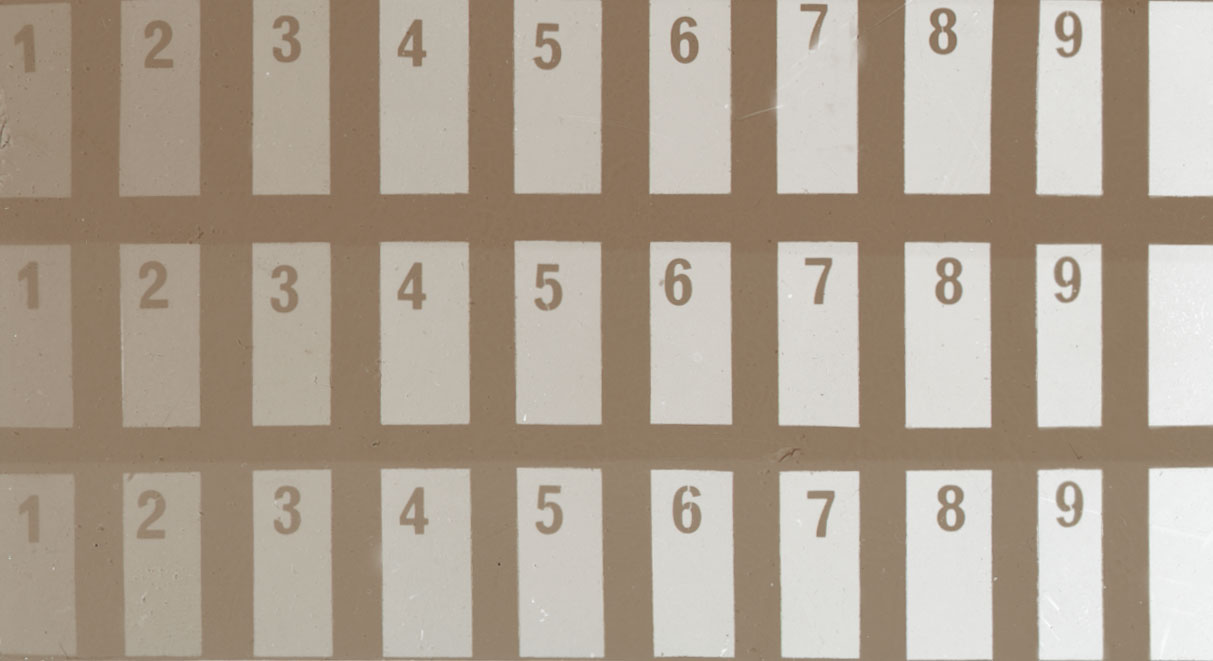
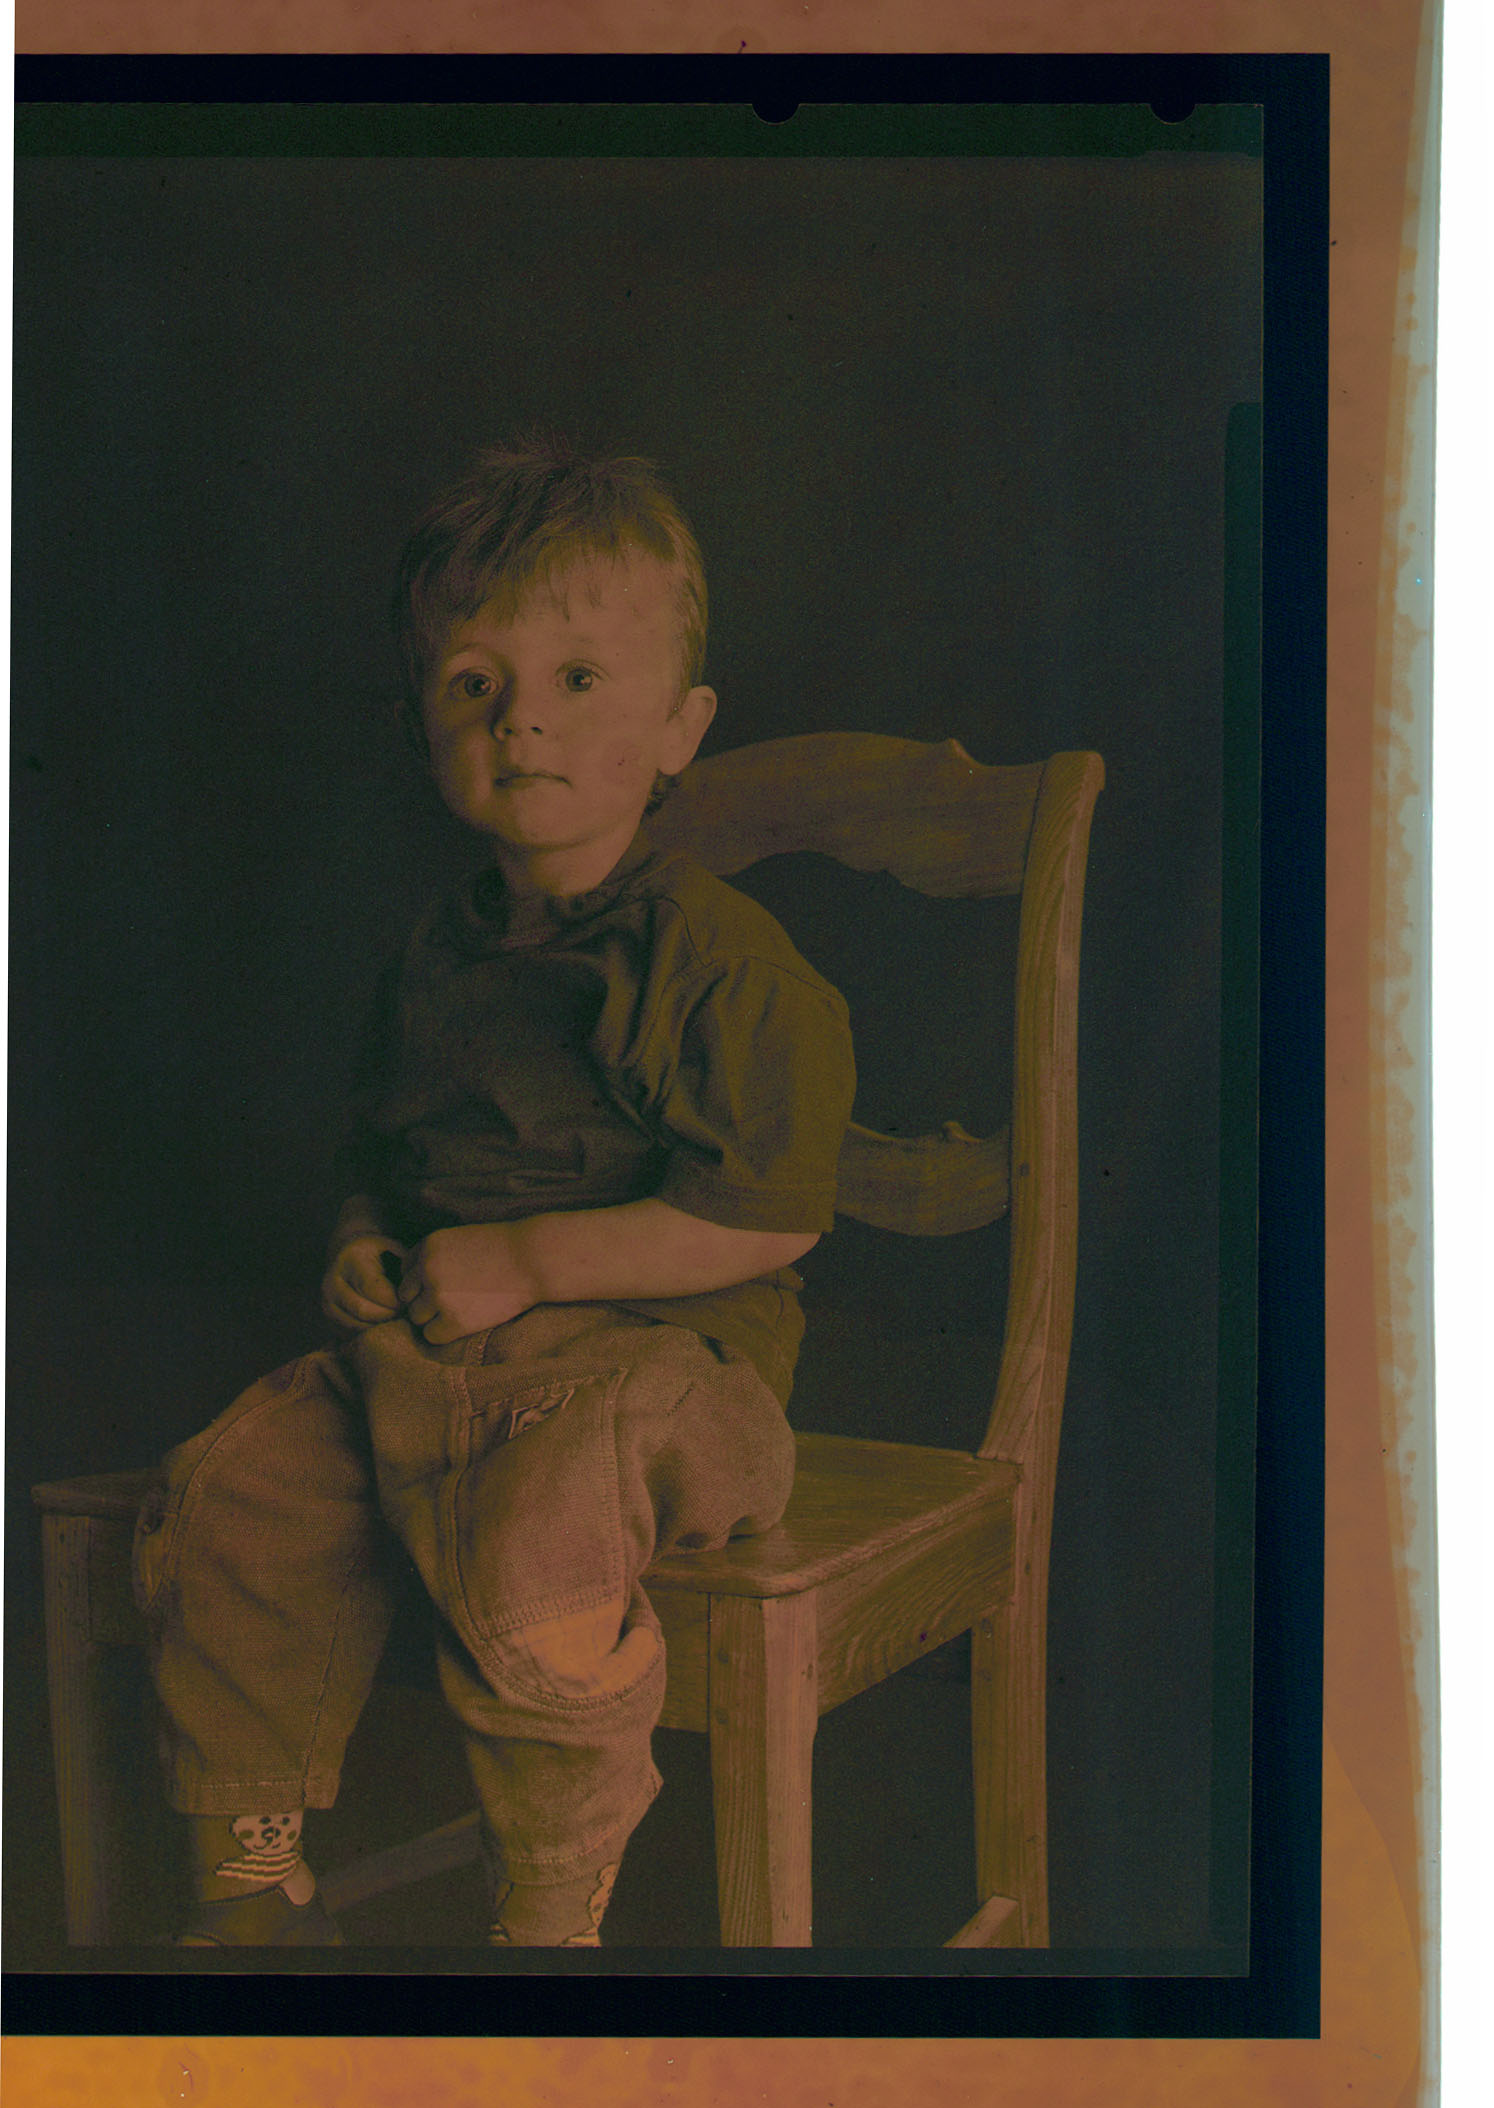
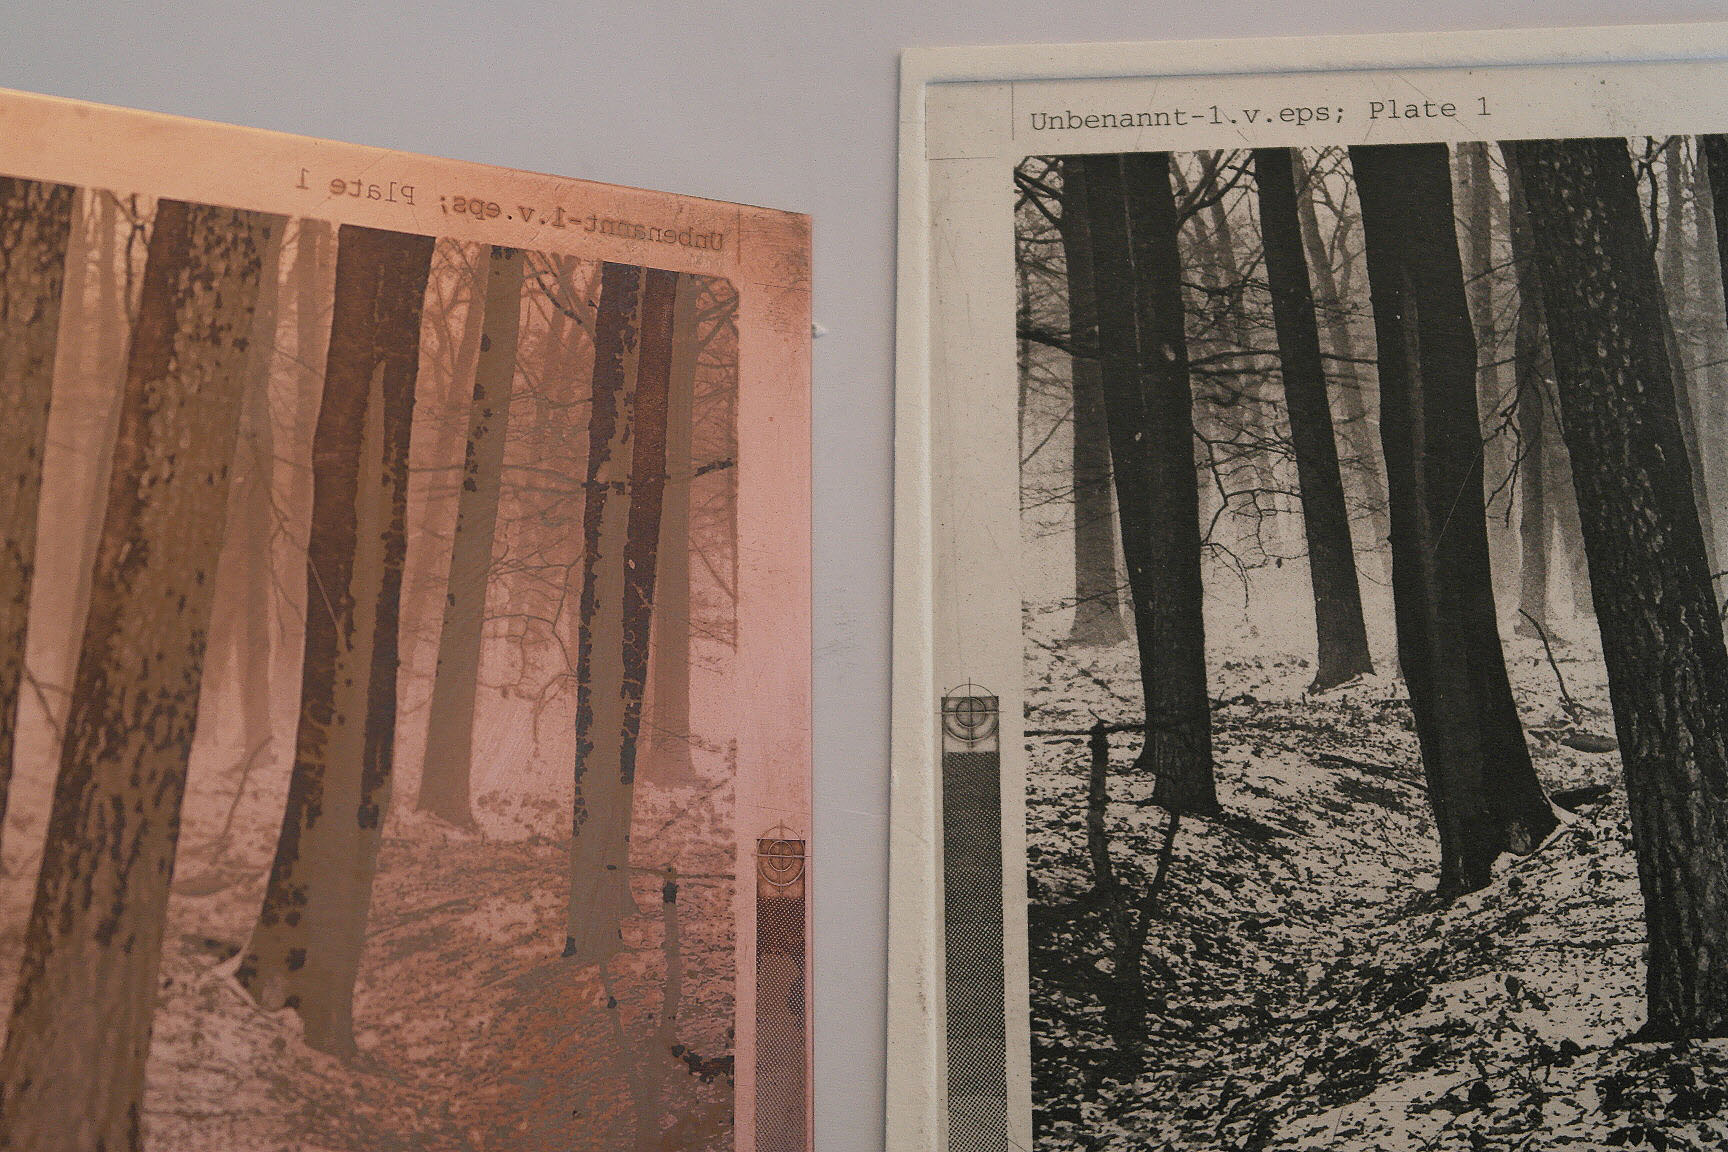
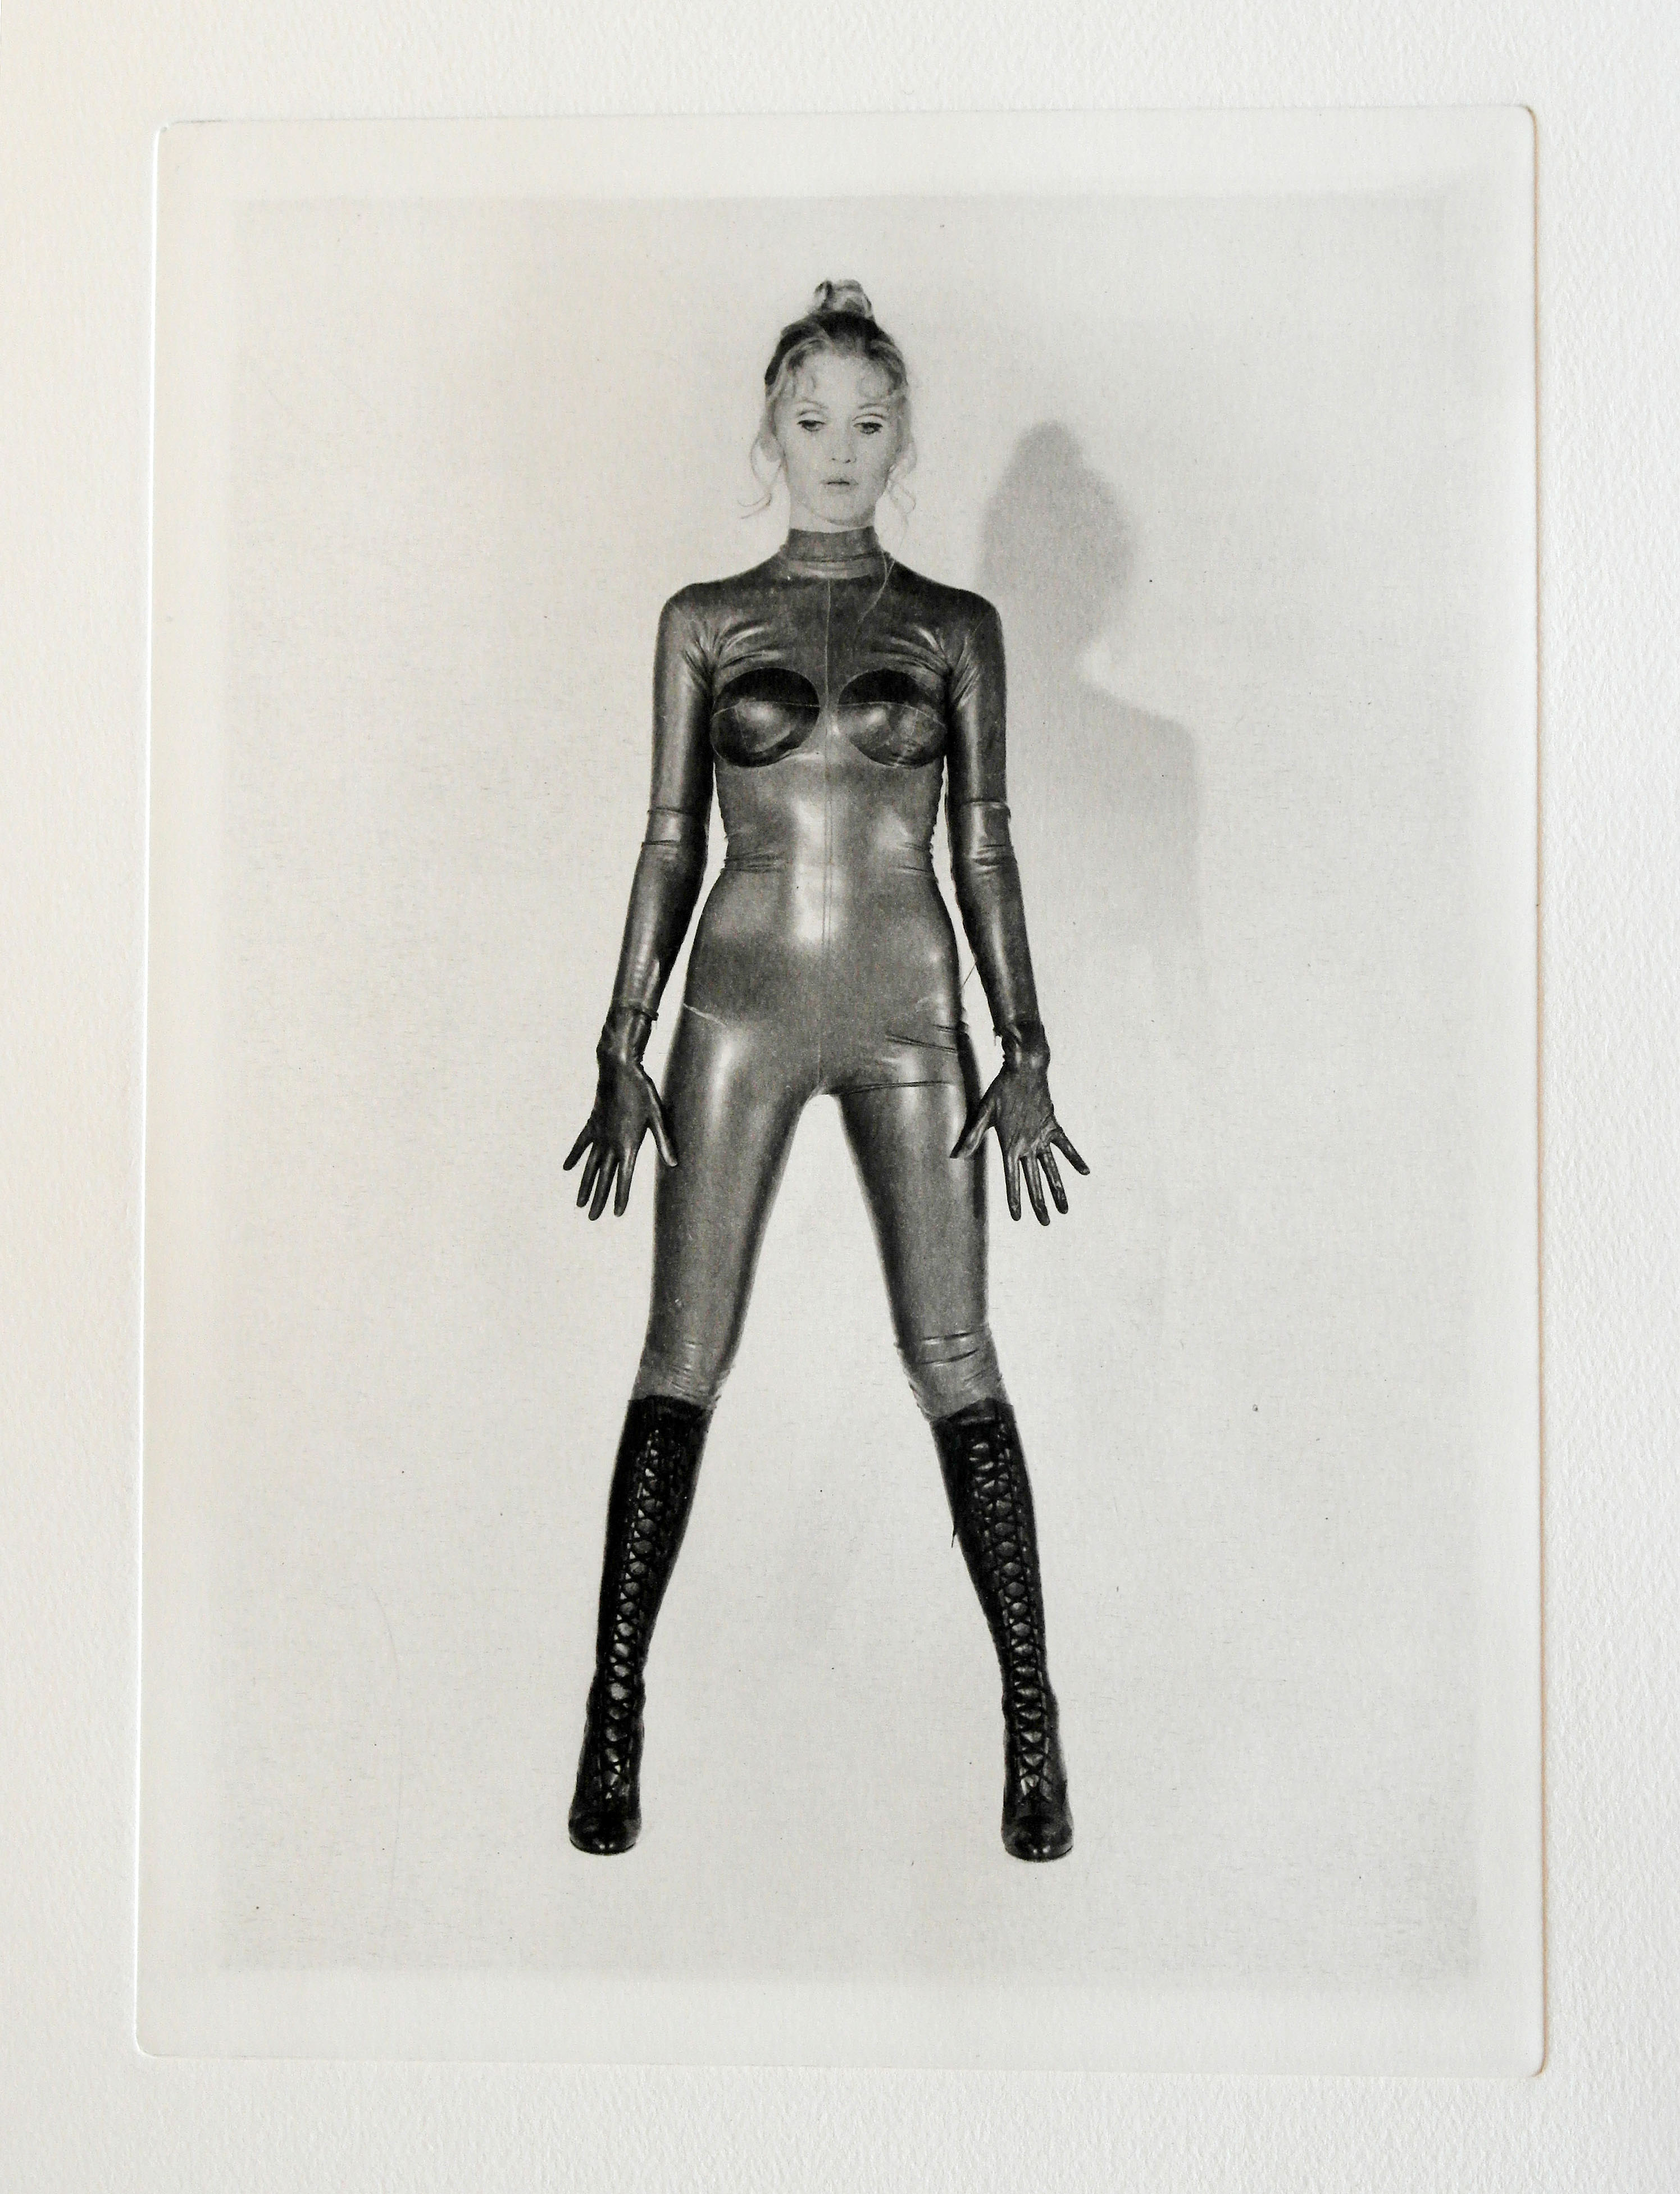
Heliogravure is one of the few "Precious Printing Processes", which is still practiced "professionally" today. Of course it is possible that some readers may apply other methods and achieve professional results, too. What are Precious Printing Processes? The photographers of the early 20th century were faced with the task of converting their "sensitive" silver images into a durable form and maybe to be able to creatively intervene or refine. The paper and color of subsequent images were almost arbitrary. There have been many methods: oil print, brom oil print, Heliogravure, pigment (carbon) printing, etc. Those who are interested, will certainly find enough information on the web. Representatively we will explain pigment printing, because it is "related" to the Heliogravure and it belongs to the subgroup of pigment process. Carbon Printing / Pigment Printing For pigment printing you can not start from an existing photographic print like with some other precious printing methods. Pigment printing requires a halftone negative in the size of the final image. This assumes that you can produce such a halftone negative in a darkroom. Today, these film is available only in normal small picture or roll films formats, and also in postcard size, for those who are still committed to the analog photography. The pigment paper consists of a colored gelatin layer on a paper base. This layer is made sensitive to light in a bath of potassium dichromate and after drying it is exposed under the negative. Then, after a new "wetting" it is crimped to a new paper, for example handmade paper. After some time, it can be developed in warm water. Those portions of the layer uncured at the exposure dissolve, the base paper is pulled off and after the complete development there remains a color image with real pigments on an arbitrary base paper. This of course needs to be dried. These images are virtually durable "forever" and thus "refined". This description illustrates the enormous effort, which is exacerbated by the fact that a number of factors that are really difficult to influence have to be expected - only experience provides standardized results. In this context, unfortunately, it has to be noted that the term pigment printing is today also used for "simple" inkjet prints, with the statement that the inks used would indeed be pigmented. The same often applies to the term lithography, although certainly it has not been printed from a stone. Heliogravure – The Process Based on the description above, it is obvious that the Heliogravure as a precious printing process can not be simple. On this website we will also explain the way of producing a Heliogravure for "rescuing" old graphic art. This article should be read first in order to better understand anything further. Like for pigment printing, an analog image, for example a photo, could be the starting point. However, it is necessary to digitize it using a scanner, SilverFast delivers excellent results here. Similar to the pigment printing, you need to fabricate a copy on film corresponding in size to the later print, but as a side-inverted positive. This could lead to film with a size of 80 x 100 cm or larger. The necessary data can either be generated by scanning or you directly access a digital camera file. Of course it is important to have a file with a sufficiently large resolution – a rule of thumb is 300 ppi. For a grayscale image you will need a single film, for a color original you will need four films – so-called color separations. Today, these films are produced using an imagesetter and stochastic rasters, or they are printed with an inkjet printer. The reason for this approach is that continuous tone film in this size is no longer produced. This positive will now be exposed onto a sensitized pigment paper, which is crimped to a copper plate after the exposure. In advance, the copper plate was placed in a special box with asphalt dust which covered about half of the copper. This dust must be melted firmly to the plate. After transferring the plate is developed in warm water. After drying the result on the plate‘s surface is a negative relief of the image. This relief is used for controlling the etching process with ferric chloride. Various baths with different water content are required. This enables the differently thick pigment parts are penetrated at different rates, so a relief can be etched into the copper plate. The previously applied dust causes small blisters to arise, just like an aquatint. It is understandable that only a correct exposure with "sun-like" light, hence the name Heliogravure, results in a correct relief. Overexposure would make the etching process impossible, because the entire layer would be hardend. Underexposure would result in a too rapid etching process, which might take 12 minutes for a correct exposure. In this context, there is some help through a so-called Stouffer wedge, which is still available. This wedge shows gradations of gray values, which increase the tone value by a certain amount from stage to stage. At the beginning of the exposure of a plate, you expose this wedge several times on pigment paper and developed it on a paper or a glass plate. The number of gray levels that are visible, give a precise indication of the exact exposure, regardless of whether you actually exposed to the sun or a sun-like light source, for example, a "facial tanner". After cleaning and usually blasting the plate, the plate can be colored with any color. The printing is done individually on a copper printing press on arbitrary papers. This shows the advantage over the pigment printing: It is possible to print short runs to change color and paper in between, etc. The need of devices, such as a heavy copper printing press, the complexity of the procedure and the required materials imply that this technique needs years of practice until it leads to success and reproducible results. Heliogravure is therefore not easy to use, it takes a lot of learning time. However, many consider it as the "crown of precious printing processes". Perhaps this article may inspire you, "to try" a Heliogravure. Heliogravure as Art There are a number of artists who have discovered the Heliogravure for their art decades ago, for example Allen Jones. Allen became world famous particularly with his sculptures of the late sixties. As a preparation for his work he took black and white small picture shots. These negatives have been stored in his studio for decades. These film originals were scanned and cautiously "restored" with SilverFast. From this digital data, a film was created in order to create a Heliogravure. Some additional comments: Since the 90s of the twentieth century, the "conventional" rotogravure is no longer used. For this method, pigment paper was used and also halftone film were available. Since that time, the Heliogravure has to try to adapt to the circumstances. For example, halftone film has been replaced by film from the inkjet printer. Since pigment paper is still available, all other principles and practices of the Heliogravure could have been obtained by "adjusting". The actual manual printing process on the copper press has not been touched. New printing methods that are interesting to the Heliogravure have been invented over the years. In particular, photosensitive polymer layers, which are already applied to a plate or can be applied to a plate, are of importance. Using this so-called „Flexography“, almost all packaging is printed today. Beyond this, polymer plates can be partly washed out with water. Having these new methods, it is possible to create new plates for the "intaglio printing". At least for short printing runs. Essentially, this method is similar to the Heliogravure and the most important aspect remains: The manual hand printing on copper printing papers. 1 Grayscale. The image shows three differently long exposed step wedges. The pigment film was transferred to glass. The exposure times were 7, 9 and 11 minutes. A color fog at stage 10 is only recognizable in the original. This means that light was able to penetrate the darkest parts of the film - thus, the correct time would be 9 minutes. 2 Part of a pigment layer of varying thickness. Differently dark areas are recognizable on the image. At the darkest area the ferric chloride needs longer to penetrate the layer, therefore etchings with different depths are created. The baths need to be tuned so that these layers "etch" after about 10 minutes. 3 Sandwich of halftone film and pigment paper for exposition in a vacuum. 4 Etched test plate in sidelight with the first test print. 5 Contact print of a Heliogravure for a photo of Allen Jones. Hand print on 300g copper printing paper, in "fine Black". |

Introduction | The Precious Printing Process | Workflow Description | Example Images | Contacts, Links & Sources