 English
 Deutsch
 Français
 Italiano
 日本語
日本語 Español
 Português
 Russian
 Chinese (Simp.)
 チェコ語
チェコ語 Polish (Store only)
The negative-positive conversion of normally-exposed and developed negatives using SilverFast's NegaFix can be achieved with a few easy steps.
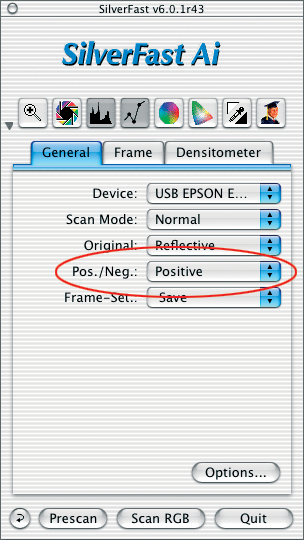
Go to the "General" panel and switch the menu "Pos./Neg." to "Negative" mode. When this occurs, the "Negative" dialogue window* with "NegaFix" will appear.
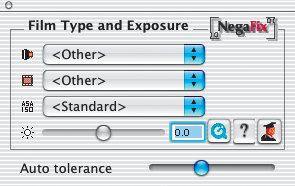
The NegaFix window offers three pop-up menus and two* sliders. The pop-up menus are used for the selection of the appropriate characteristics of the negative film:
- Manufacturer, or film brand
- Film type or film name
- Film speed (sensitivity)
By means of the slider "Exposure", or the input field, the film exposure of the negative can be adjusted within plus/minus 3 f-stops.
The slider* "Auto tolerance" allows adjustment of highlight in the automatic Film mask recognition. Begin with a prescan in order to obtain an overview of the image. The preview will display an uncorrected positive image. Please follow the steps on the following page:

*Which versions of SilverFast contain NegaFix?
SilverFast®SE contains merely a simplified dialogue. SilverFastDCSE and -DCVLT versions do not contain this feature.
*Auto-tolerance slider and expert dialogue
The slider is available only in the SilverFastAi®, -DCPro® and -HDR® -full versions.
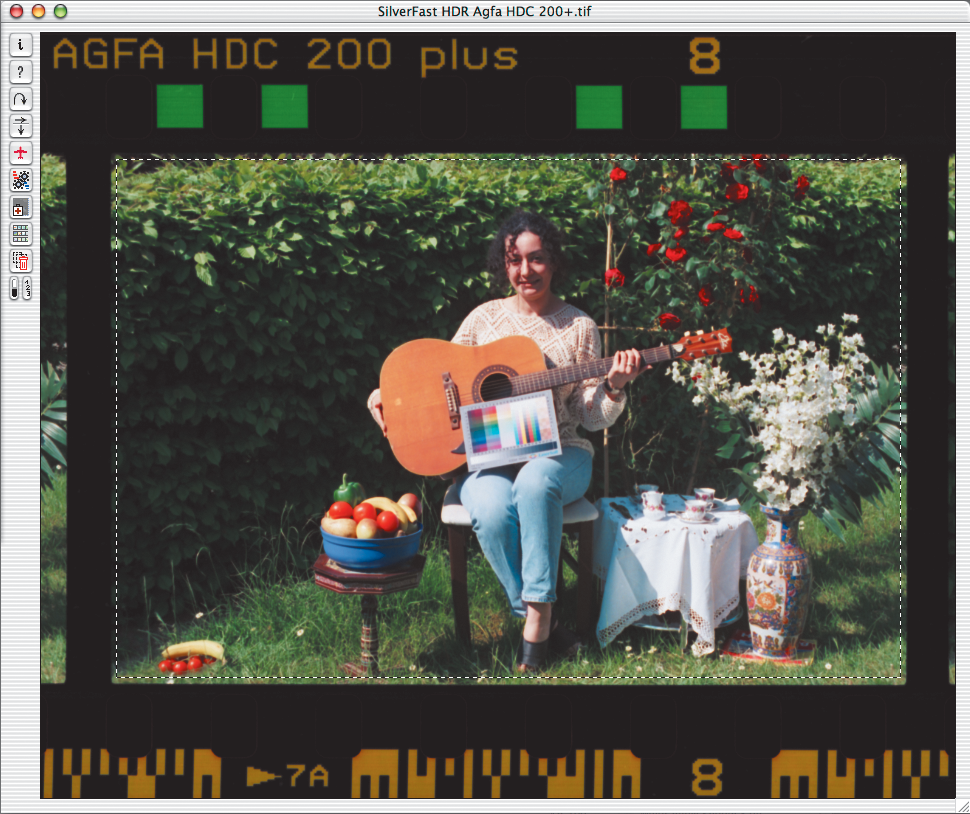
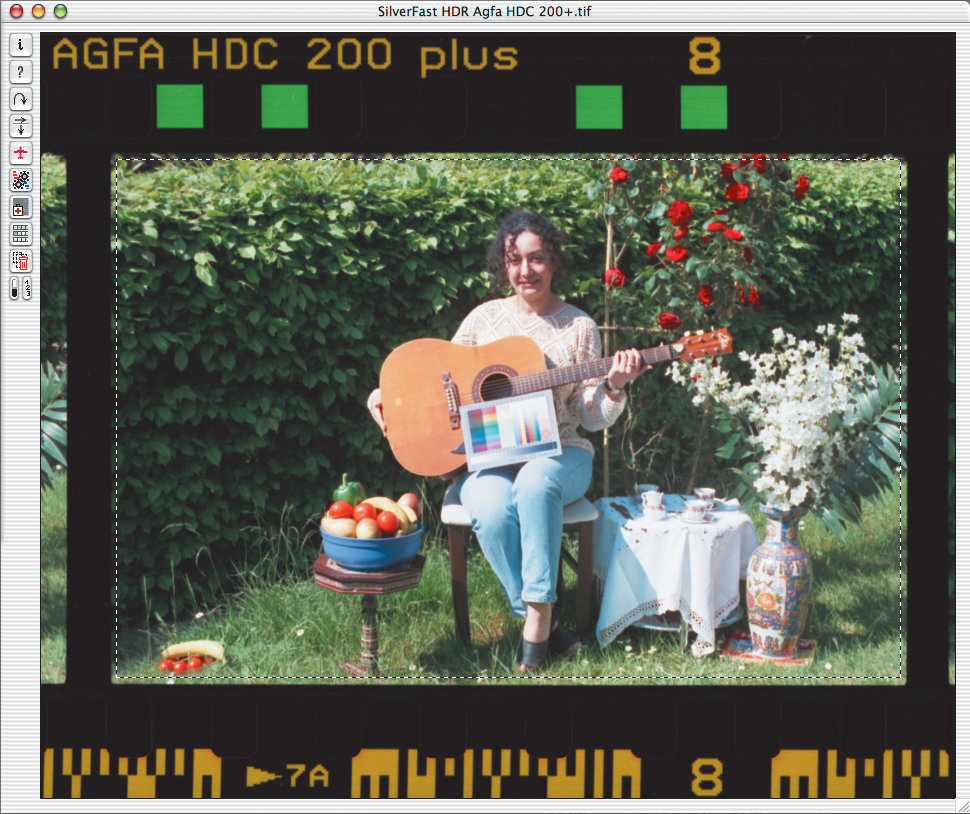
1. Image Frame Selection
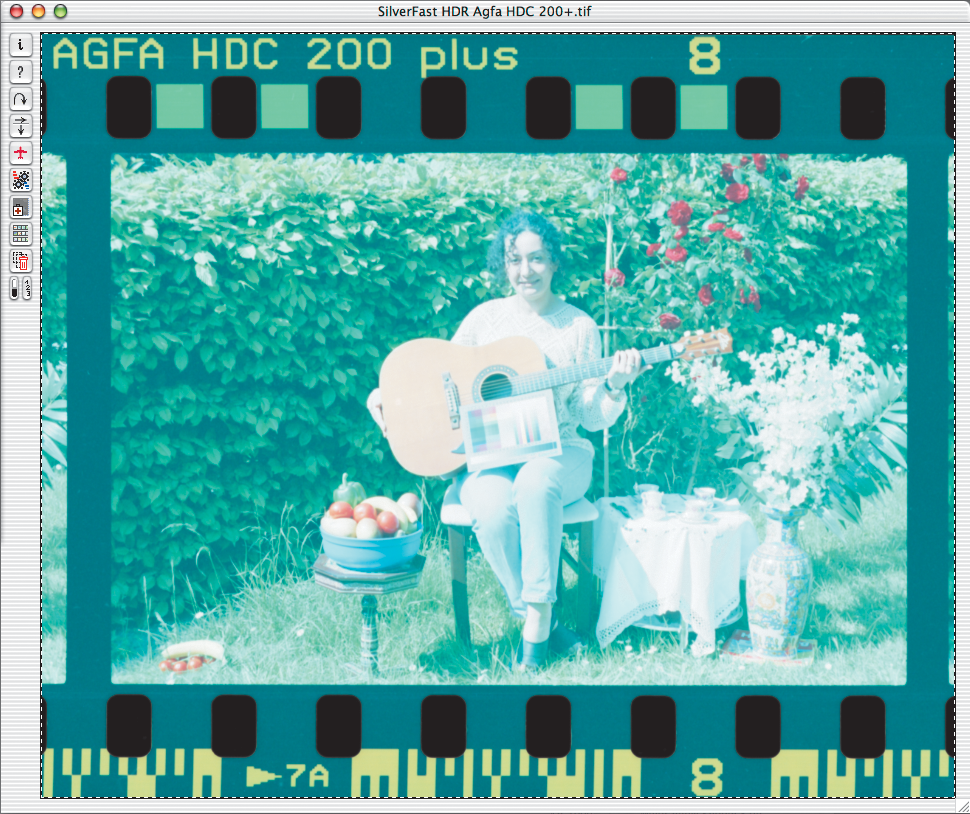
Ensure the selection marquee is inside the image and does not touch the perimeter of the film material. The image on the right has been automatically optimised with the integrated "Standard Profile".
2. Select Film Manufacturer
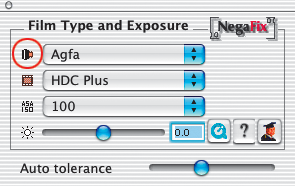
Select manufacturer or negative film brand: e.g. Agfa.
3. Select Film Type
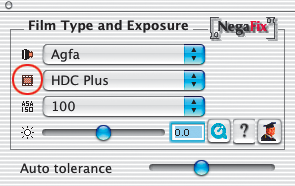
Select the film type: e.g. HDC.
4. Select Film Speed

With the pop-up menu, select the film speed (ASA/ISO value) of the actual film. All chosen settings will be instantly updated in the preview window.
5. Auto Tolerance
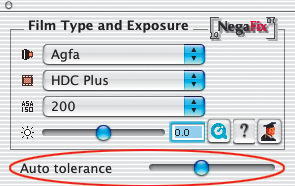
In case the image still lacks neutrality, this slider can be used to adjust the tollerance of the mask-recognition (in the highlights)
6. Correct Film Exposures
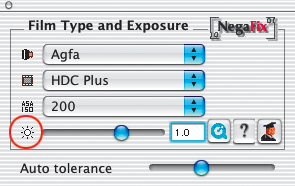
Normally, a correction of film exposure is not necessary. If the image appears too bright or too dark, use the slider to simulate a film exposure of 3 f-stops. You will see the correction in real-time on the preview.
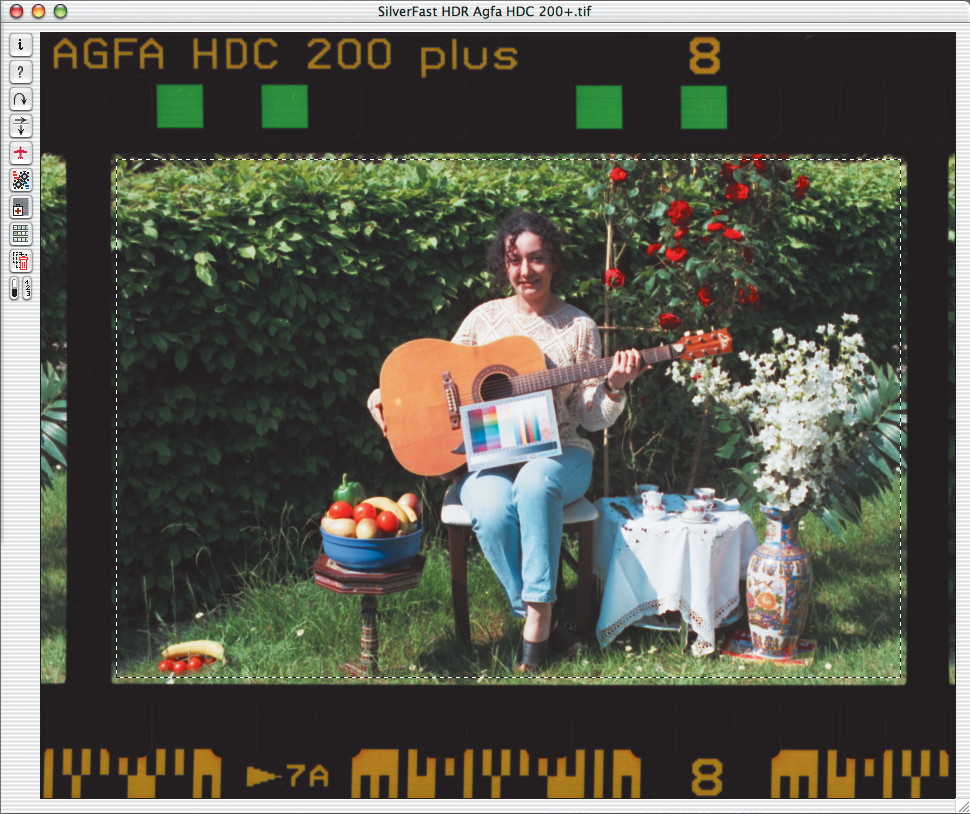
7. Apply Auto-Adjust

Now the process of negative-positive conversion is complete. To fully optimise your image, press the SilverFast auto-adjust button from the tool bar as usual and/or apply other SilverFast tools as desired.

