To allow you to adjust an existing color profile SilverFast offers the Profile Editor. It is available through the Printer Calibration Feature.
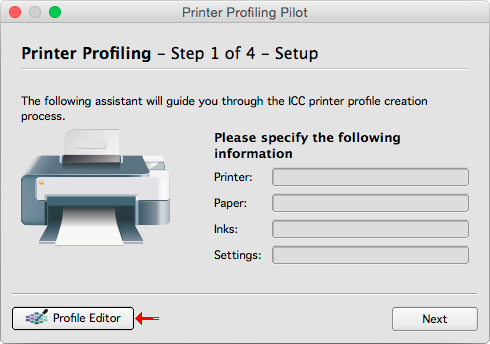
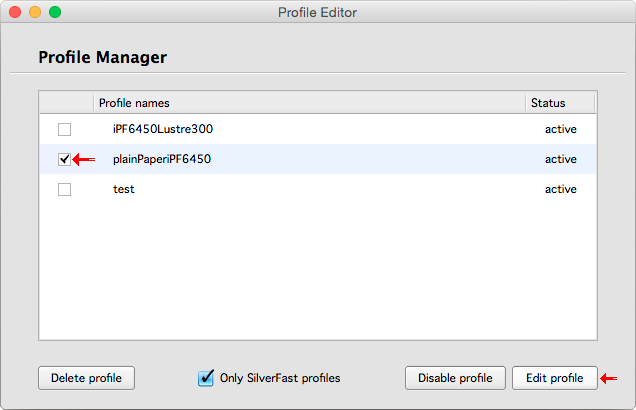
First you have to select a printer profile to edit. The editor normally shows the profiles created by SilverFast. But you can also display third party profiles if you uncheck the "Only SilverFast profiles" checkbox at the bottom of the window. Please note that there are a lot of different types of profiles and many ways to create them. In case a profile can not be edited please contact our support.
After you selected the profile to edit press
Edit profile.
The next step is to print the Neutrality Test Chart. This can be done in several ways to allow precise editing of the profile.
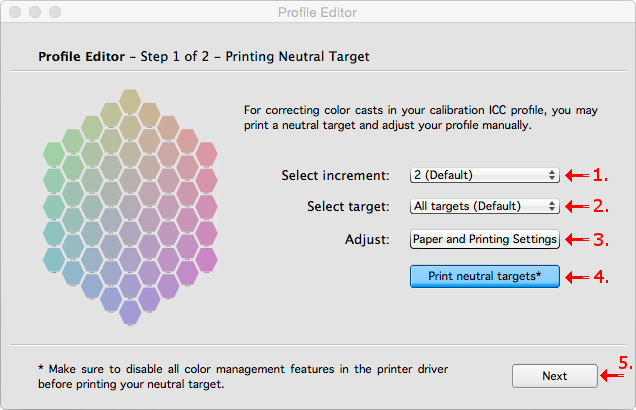 1. Select increment
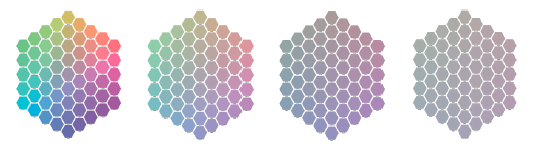
The step increment defines, how fine the printed target will show the color changes. Here is a sample showing Increments of 5, 2, 1 and 0,5 (from left to right).
 2. Select which target to print
The Neutrality Test Chart normally requires three separate charts for highlights, midtones and shadows.
3. Adjust the printer and paper settings
Here you set your printer's settings for printing the Neutrality Test Chart.
Important! Make sure the color management is deactivated for this print! In case you have questions regarding your printer's color management please contact the manufacturer's support. The manufacturer can explain if and how the color management can be deactivated.
4. Print the Neutrality Test Chart
This button starts the print using the settings from the previous steps. Make sure the paper you want to profile is inserted.
5. After the chart is printed continue to the next page
Please note that the following step will assume, that you will be using the target you printed last. In case you printed several ones make sure you use the newest one for the following steps.
The Neutrality Test Chart now allows you to examine the color values for the highlights, midtones and shadows using the actual lighting and production conditions your final print will use. Select the fields you want to use for best neutrality or displaying the hue change you desire.
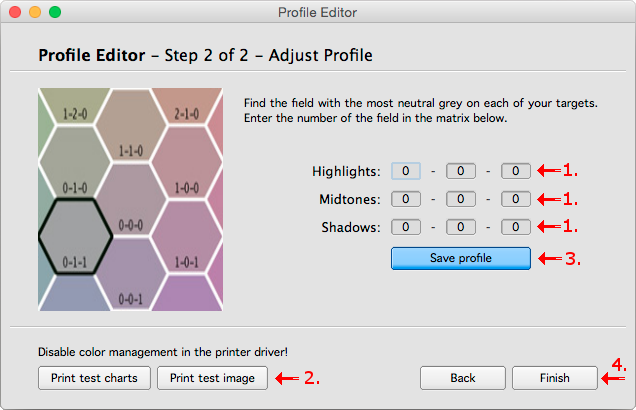 1.
1. Enter the value of the selected fields into the Highlights, Midtone and Shadows fields.
2. The two Print buttons in the lower left allow you to print another Neutrality Test Chart or a test image using the values you just changed. This allows you to test and refine the values you selected. For example by using a production image or a Neutrality Test Chart with a lower Increment.
3. When you are satisfied you can save your edited profile. This will create a new file. Use a name that indicates your changes. You can even save the profile several times using different settings as required.
4. Afterwards you can close the editor and enjoy your improved prints.